Data Protectionand Privacy Policy

Friday 30 September 2011

Ally Pally

Hi everyone,


Gosh it is hot!! Still must not moan, just think that at least we are not having to have the heating on! My craft room window faces south, so I had to pull my blind down a bit, without shutting out the little bit of breeze.

We had a great day out at Ally Pally. I bumped into a friend of mine that I used to live three houses away from, in a village near Crawley. That was over thirty years ago! It was only a couple of years ago I found out, that as a child she lived in London, a couple of streets away from me! Not only that but she went to the dancing class in the house next door to mine. I also went to the same class!! We were also in the same class at infant school!! This I found out, as I saw her picture on Friends reunited. It is such a small world.

This is a card I made with the first Christmas stamp release from LOTV. We quickly made our way to their stand at Ally Pally. I could have quite easily bought every stamp that I haven't already got! Lol!!


I coloured her clothes with Aged Mahogany and Fired Brick, Distress Inks. Her hair is Vintage Photo.

For the fur trim, I mixed Crystal Ultra Fine glitter with Fun Flock and put it on top of Cosmic Shimmer Dries White glue.
The ribbon I also bought at the show. A bargain at 6mts for £1!! The stamp was a free gift with a Mag. The Berries I have had a couple of years!


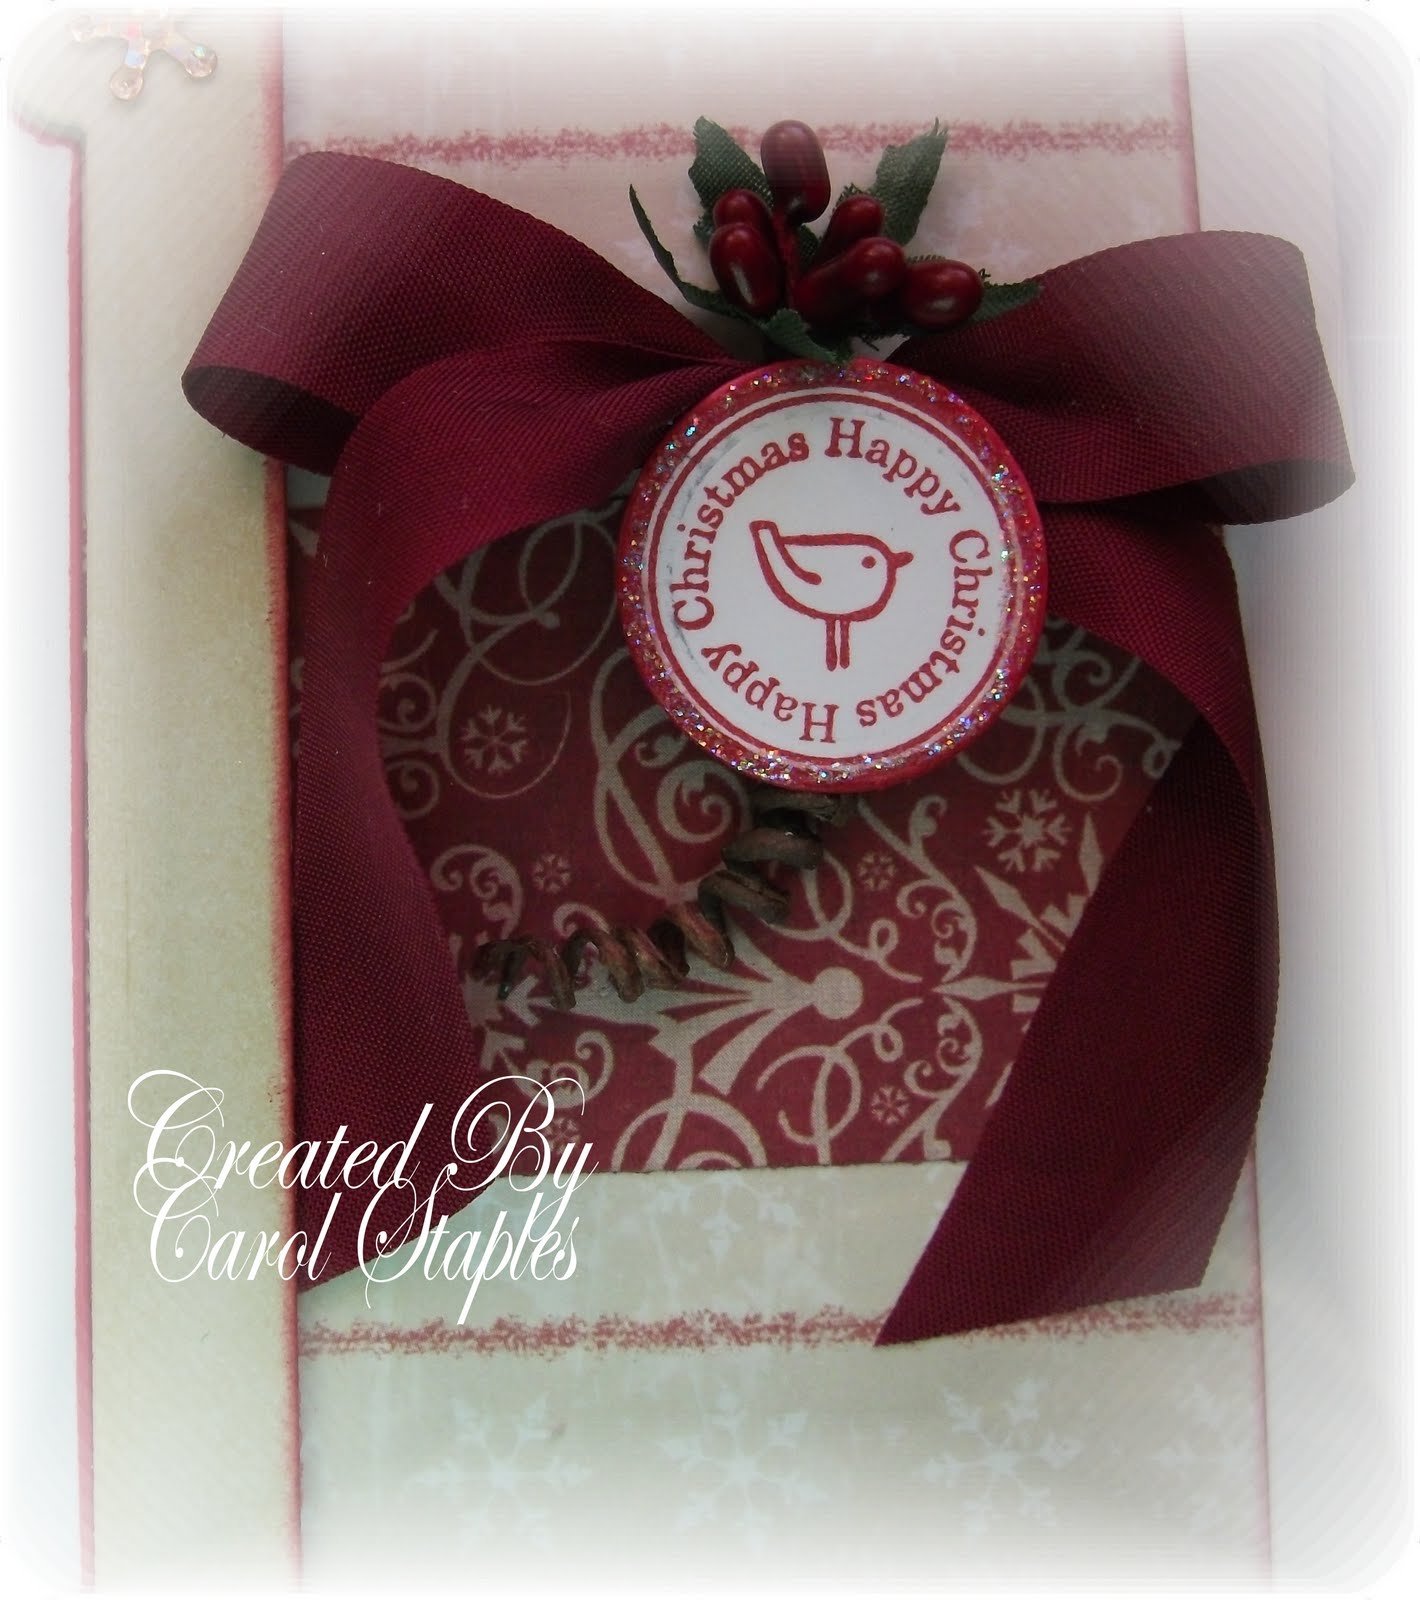
We were 5 very tired but happy ladies at the end of the day.
Thank you for popping in to visit my blog and I thank you for your lovely comments.
Luv,

Carol S.xx

Tuesday 20 September 2011

Winter Birthday

Hi All,

It will not be long before our trees look like this one. There was quite a chill in the air this morning.

I am going with 4 friends to Alexandra Palace on Saturday. A girlie crafty day out!Lol! My shopping list is getting longer by the day.

This card I made, using a piece on my treasured paper, from my Tim Holtz Distress Ink Paper Pad. I used one of the square pieces as the background, which I edged with Pumice Stone Distress Ink.


The band across the middle was the little piece I had to cut off to fit in onto my card blank. I stuck it to a scrap piece of black card. I don't like to waste my paper.Lol!!

I coloured a piece of white card with Stormy Sky distress Ink. I stamped the tree from the Back to Nature set of Andy Skinner stamps, which I bought from The Craft Barn in Lingfield Surrey, using Versamark and Disco black embossing powder.

For the gold edge, I ran the Versamark around all the edges very roughly, to get an uneven effect. I then dipped the card into Gold embossing powder and carefully used my heat gun, trying to avoid the tree. The 'photo strip' is from the same set of stamps. Along with an amazing flight of birds, various foliage stamps and a lovely sentiment. Very good value.Why are men so difficult to make cards for?! I quite often resort to trees if they have no hobby or interest. At least my son is football mad and it is also his job.
I hope you like my card and thank you very much for stopping by.

Luv,
Carol S.xx


Monday 19 September 2011

A Heart Full Of Daisies

Hi Everyone,


I have now got my craft room pretty well organised. The trouble is, I now have more space to spread out even more things!Lol!! As I look over to my craft area from my computer area, I can see very little space without anything on!!

This is a little box that I had half made many months ago. It has been moved around my room so many times that all the pieces were not together. I managed to find them all and get them in one bag, when my room was being done. I then told myself I just had to do something with it, other than find a new home to store it!

The lid top and the base were all cut with the largest scalloped heart Nestie. The internal heart shapes were cut with the large plain heart. The sides were just long strips of card, scored 1cm from one edge, then folded on the score line. Triangle pieces were cut out of the 1cm section to the score line, every 1" to allow it to be bent around the curves.

As you can see I used the Fusion method of painting the Daisies on the top of the box. It was first painted with Ivory Emulsion paint and edged with Faded Jeans Distress Ink.

The Dragonfly is stamped and embossed with white onto Vellum. Oh! Of course a touch of Stickles on the flower centres.

It would make a nice little trinket or gift box.


Hope you like my box and thank you for stopping by. I love all you special comments and they are much appreciated.
Nighty night,

Hugs,

Carol S.xx

Sunday 18 September 2011

Super Blog Candy

Hi everyone,

Just quick post to let you know about some brilliant blog candy up for grabs. Check it out at www.kaardvark.blogspot.com


While you are there check out the amazing cards made by Sharon.

Will post again shortly.

Luv,

Carol S. xx

Tuesday 13 September 2011

Butterflies Galore

Hi everyone,

I haven't posted for a bit, as my craft room has been undergoing a complete refurb. I emptied the room last Thursday, including my computer. I was shocked with the amount of stuff I have!Lol!! Well I pretended to be shocked!! I was able to stroke things I had forgotten I had.

The fitters started at 9am on Friday and they were finished by 2.30pm. The transformation is amazing. However, it took me 3 days to get everything back in the room. I labelled most things but still have a few boxes to do.

This mirror is for a neighbour. She saw my Fairy mirror and asked me to make a butterfly one, for her Grand-daughter's 5th birthday. She can never find anything with her name on, so wanted it on as well.


Her favourite colours are pink and purple. Do you think I filled my brief?!


I used a combination of different techniques. A crackle background with Acrylic paints, PVA and Emulsion Paint. Paint Fusion with the Ivy and the Lavender. Stamped Butterflies coloured with Distress Inks.


The flower is a Nestie paper circle, cut into a spiral, screwed up and rolled around on itself. I squashed it and glued it as I rolled my way to the end and stuck it to a piece of green florist wire.

The letters are chipboard ones from my stash and coloured with Copics. I then inked them with Versamark and embossed them with clear embossing powder. I did this twice to get a smooth finish.

The grasses at the bottom, I painted with Acrylic paint. I found some silk grasses when I cleared my room. I cut some into different lengths and stuck them over the painted ones. This gave a bit of depth to the background.
The Butterflies had a bit of Stickles on their wings and bodies.


Hopefully she will like it.
I must now make some more Christmas cards. I have so many different things to make, I get a bit distracted! Not hard really!!
Thanks for visiting and your lovely comments brighten my days. Always appreciated.
Luv
,

Carol S.xx

Tuesday 6 September 2011

Miniature Fusion

Hi everyone,


Well boy did it rain today!! And as for the wind, I was a bit nervous looking at the big Oak tree at the bottom of my garden. It was and still is really swaying!! I did wonder how the Squirrels are, as we have two nests in the tree. Do they get sea sick I wonder!!Lol!

These are two items I have made for my stall on Friday. Anyone who has bought the Daisy Fusion stamps from Sheena Douglas, like me, did you wonder what to do with the small daisy stamps?!

Well this little round wooden box is only 3" across and 4" high. I painted the lid with Ivory coloured Emulsion paint. I then stamped around the edge of the lid, using the small Wreath stamp from Sheenas' Christmas stamps. I then over stamped with the small Daisy stamps. I used a small round headed brush to apply the paint to the flowers. I also used a wash of Burnt Umber Acrylic paint on the twigs of the wreath. For the leaves I used a very small flat brush.


For the sides of the base, I first painted a base coat of Gold Acrylic paint. I dried it with my heat gun for speed. I then applied a coat of PVA glue and before it dried, I painted it over with Ivory Emulsion. I used my heat gun to crackle the top coat.
The square box I did the same as the round box but also did the crackle paint effect on the lid. However, I did not use the Wreath stamp.

The little heart on the lid is also wood, which I painted with the gold Acrylic paint. I also used the same Gold paint on the inside of the box.
I hope it is not too windy on Friday, as I have to get all my craft goodies into the hall where the market is.
I am also supposed to be having worktops with shelves under, put in my craft room on Friday or Saturday. I can't wait, so I can finally get my room just as I really want it. Tidy!! Well tidyish! It is the Virgo in me!

Thanks for stopping by.

Luv,
Carol S. xx