Data Protectionand Privacy Policy

Showing posts with label Sheena's stamps. Show all posts

Friday, 3 June 2016

Winter Wonderland Snowflakes Challenge

Welcome to this weeks challenge at Winter Wonderland.

Our lovely host for this challenge is Cindy
and the theme she chose is 
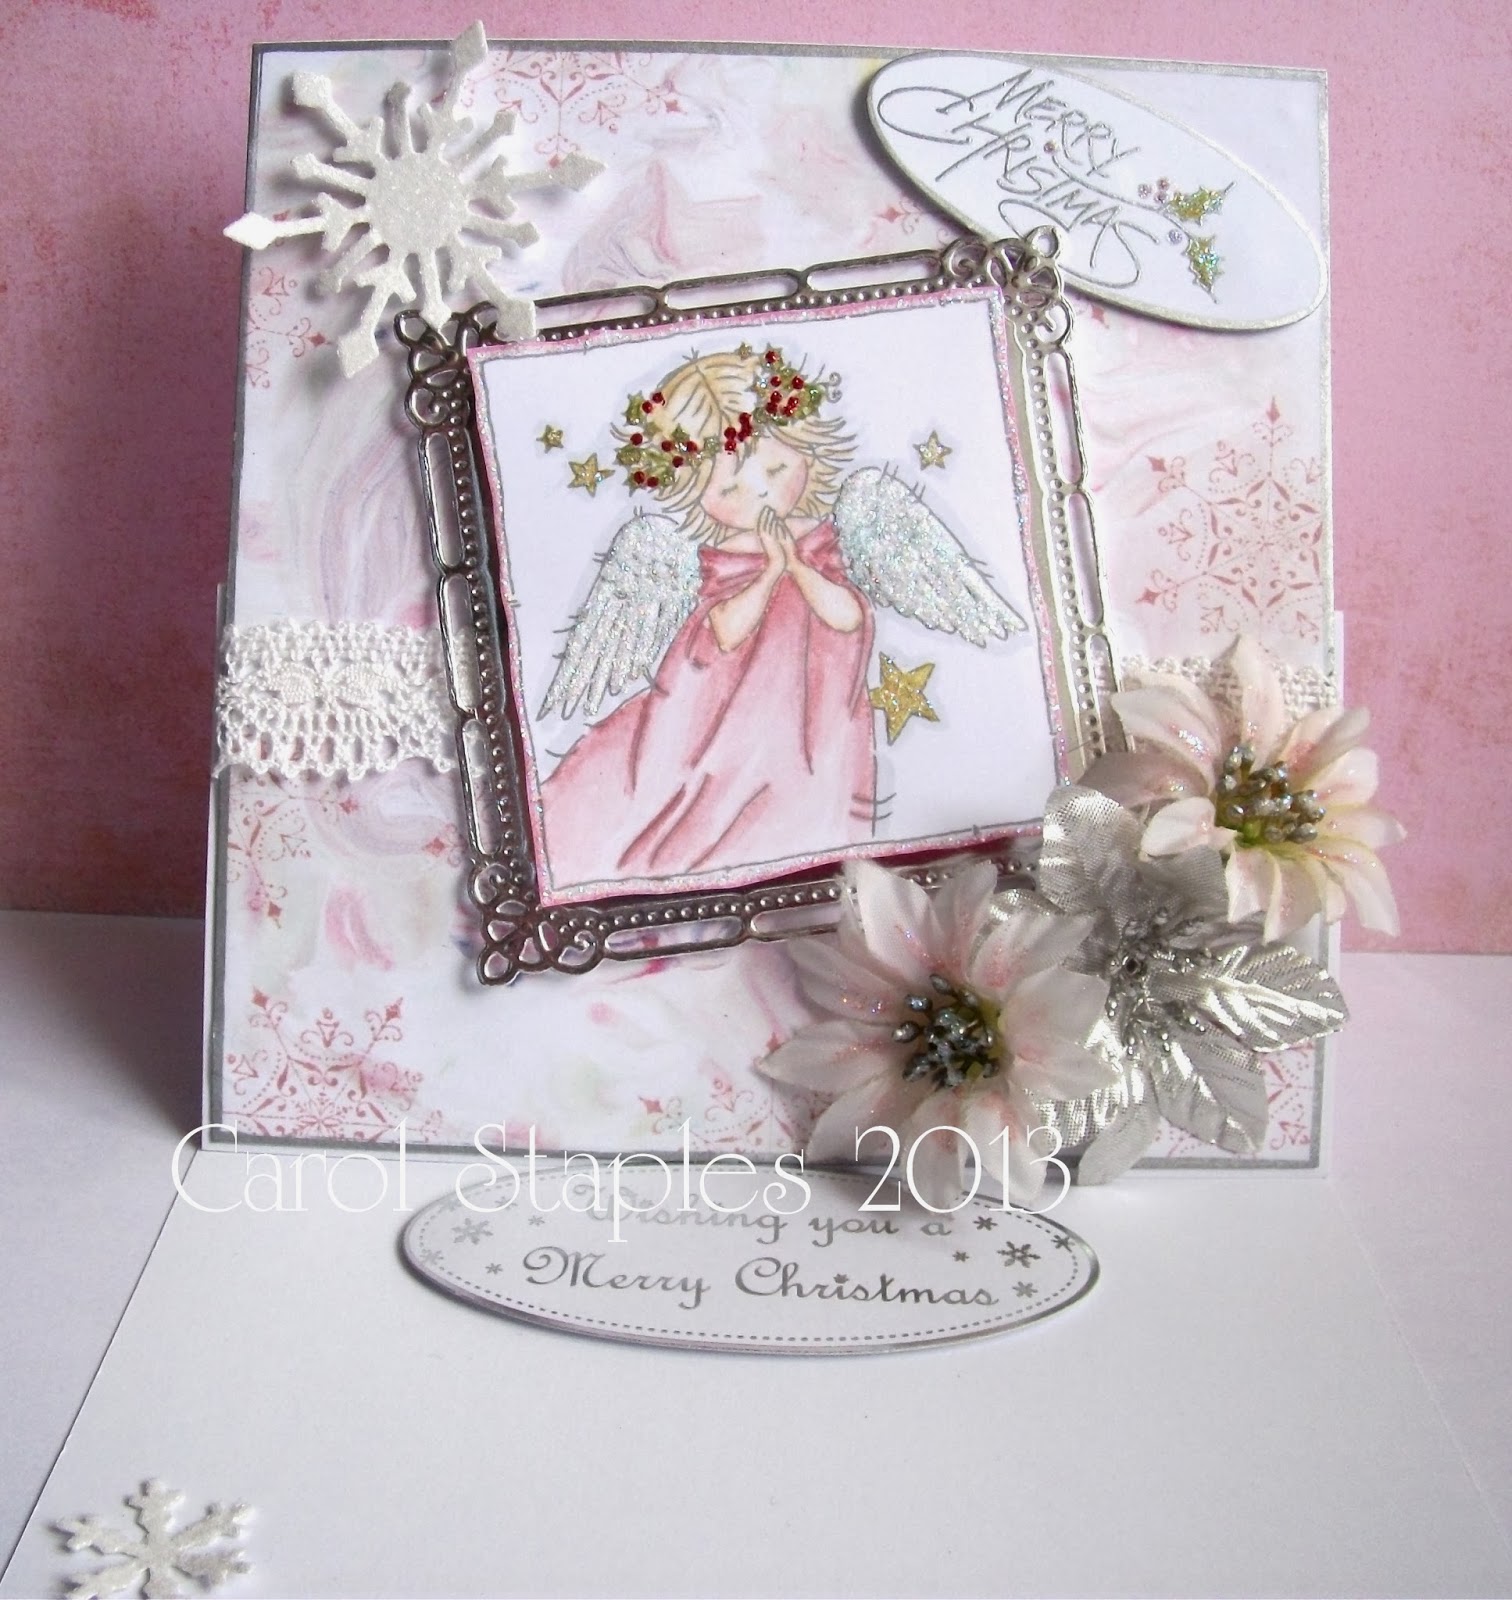
Snowflakes

There must be Snowflakes on your card/project.

I just had to use my favourite Christmas stamp.
To me, he is Santa.

I made the tag from water colour 300gsm card, from The Craft Barn.
I cut the shape and then used Chipped Sapphire DI to 
colour the background. I then stamped swirls as a border.
It was a clear stamp I have had for a number of years,
 with no clue as to where it came from!


I used Versafine Onyx Black ink to stamp the Santa image.
Not that you can see it but I added Glossy Accents 
to his eyes and his glasses.

Also 3D glue and glitter to his eyebrows.

On the Holly berries, I added Waterfall Stickles dots.
The Ivy is a Sue Wilson Die.
The snowflake dies were Marianne Designs and 
Sue Wilson Holly dies.

The card background was a stamp from Sheena Douglas on the left.
The stamp on the right was a very old stamp from who knows where......Not me!!


Our Sponsor this week is
The generous prize of 6 images


Our second Sponsor is
A great prize of a £10 voucher.


Please make sure that your project matches the theme,
Snowflakes

If it doesn't, then you sadly will not be entered into the draw.

So please read the themes carefully and 
then you could win an amazing prize.

So join in the fun and good luck!!

Thank you for popping into my blog.

Big hugs,
Carol xxxx

Wednesday, 23 March 2016

A Special Day

My health problem got a lot worse over the weekend. 
Saturday morning was spent mostly in bed. I felt nauseous and couldn't eat 
and even struggled drinking. The pain was really bad too.

I managed to get up Sunday but still felt much as the same as Saturday.
I lost 5lbs in those two days. 
I must apologise for not visiting your blogs over the last few days.
I know my plan was to lose a stone this year, but not this way.
Another visit to the Docs on Monday.
He now thinks that I have a stone stuck in my Kidney.
He even called the hospital, spoke to a consultant, who agreed with him.
He also wanted to see if I could get a scan that evening!
No luck with that though.
He said he was going to keep an eye on me!

The hospital called me this morning. They had a cancellation, 
so I have had it done. Now the wait for the results.
**********************
I must welcome my 2 new followers, Lia and Ameera.
Thank you for taking the time to join me.
Would love a message when you visit, so I can return the same to you.

This card I made over the last week. It was a stop and start card!
It's an 8" x 8" card blank and the backing card is a pack I bought at Ally Pally.
It is a beautiful card and I have it in 3 designs and also in gold.
The silver corners are the waste from the mirror board Die Cut.


The stamps are both from Lili Of The Valley, the sentiment and image.
The image was coloured with Distress Inks.  
The sentiment was heat embossed with Silver Detail Embossing Powder,
onto a piece of the backing card.
You can see the shiny design a bit on this photo.

The flowers are a Sue Wilson Die set Delicate Daisies.


The image was stamped onto Langton Water Colour 300gsm paper.
The image and backing are cut with a Craft-Too set of dies.

I used the same die for the sentiment inside.


The table that the card is sitting on was an old garden table that 
nearly ended up at the tip.
Instead, I painted it and then decorated it with Sheena Douglas style painting!
It then ended up on Create and Craft, on Sheena's Show!
Her husband had emailed me, as the table had been seen on my blog
and Sheena wanted to show it on her shows over the next 2 days. So it did.
I have got a couple of the programmes saved on my Sky box!! How sad!!
That was at least 6-7 years ago!!

I won't tell you how long it has taken me to get all this waffle on here!!
I can't sit for too long in one place, as it gets rather uncomfortable.

I promise I will try to start getting around to you all, over the next few days.

Thank you for visiting and leaving you lovely messages.

Big hugs to all,

Carolxxxxx

Saturday, 28 December 2013

My Favourite Five Christmas Creations

Hi everyone,
 
Hope you are still enjoying the Christmas break. We had a few power cuts on Christmas Eve but nothing like some parts of the South. A tree came down at the bottom of the road, blocking it for a while. Today it's lovely to see the sun and not too windy either.
 
I decided to join in the fun of choosing my favourite 5. I found it quite difficult to do! They are not in any order of preference though. I will also link them to Debby's Challenge, A Scrapjourney.
 
 
This was one of the first cards I made, many months ago! The first, with the newly released Lili of the Valley stamps. Coloured with my favourite Distress Inks. I think she is my favourite LOTV release this year.
 
 
Another LOTV stamp! Loved it too! I am very fussy with my snowman stamps. It is all in the face and these are just right.
 

This one was great fun to make and looks so much better than the photo shows. I used white flock, mixed with ultra fine glitter on the polar bear. The shading still showed through and you could stroke his fur!
 

This was another easel card, with I think again, one of my favourite LOTV stamps. Could be used all year round too. Just do not ink the 'snow'.
 
 
This was probably my favourite card. I made it for the manager of the Charity that I fund raise for. She said she thought it was so beautiful, that it brought tears to her eyes. It is definitely one to see in real life. I used the new Cosmic Shimmer, Glitter Jewels, Iced Snow on the flowers. I think it was my favourite Christmas product this year. It gave great texture. I also used it on the snow on the polar Bear card.
 

Well I hope you like my choice. I would love to see yours. So why don't you join in the fun over the weekend.
 
Have a great weekend,
 
Hugs,
Carol S.xx


Sunday, 20 October 2013

White On White

Hi everyone,
 
So sorry I haven't posted lately but as I sold so much stock at my last Craft Fair, I had a lot to get made for the one I had yesterday. The last one was over 2 days and I sold 3 large and 1 small crates full of stock! Great for my Charity, Brendoncare - Stildon.
 
Had another good Fair yesterday. I sold the most I have ever sold at this venue. The fairs are every 2 months there, with an extra one at the end of November. So this week I am working flat out to make more stock, for yet another Fair on this coming Saturday! Clocks are my biggest seller at the moment!
 
This is a boxed card with my favourite, white on white. With a little Chipped Sapphire DI thrown in.
 
As this is a quick post, as I must get back to my desk, I will just list the products I used.
 

An A5 card blank, 320gsm card for the embossing and stamping. Wow white EP for the snowflakes on the first layer of the backing card. Just visible on the left.
 
 
Sheena Douglass Christmas stamp. Creative Expressions Snowflake Mask. Centre aperture cut with Spellbinders Opulent Ovals Die. Spellbinders Layered Poinsettia Die. Dee's Distinctively Wreath Builder dies for the leaves. Cosmic Shimmer Glitter Jewels - White Ice on the flowers. The metal charm was from our 99p shop! You get 6 assorted charms for 99p! The sentiment is from Hobby Art Designs.
 

I have loads of cards made and will try to post a bit more often. I would like to enter some challenges again but it takes me so long to do! I wish I had another pair of hands and an extra 5 hours in each day!

Marianne has persuaded me to enter the Crafty Little Fairies Challenge. So I have!
 
Thank you for taking the time to visit and to leave such lovely comments. This is a busy time for all of us crafters and it is appreciated all the more, to get such wonderful comments.
 
Big hugs,
 
Carol S.xx

Friday, 6 January 2012

My First Post Of 2012

Happy New Year everyone,

Sorry it is a bit late, but it has been rather hectic here in my little corner of Sussex! I am having a minor knee op, near to the end of the month, so I am trying to fit a lot into the next 3 weeks. After the op I will not be able to drive for a couple of weeks. Yuk!!

I am hoping it will mean I won't have to have a knee replacement yet. I cannot even think what it would be like to be stuck at home for weeks and weeks!!! I am not even thinking about that, just going to think positive.

This is a card using 'A Little Bit Sketchy' stamps from Sheena Douglass. The trees are from the set 'Lakeside Shore'. The Mountains in the background, are from the 'Peaceful Lakeside' set. I used the stamps for some of my Christmas cards. They look totally different in greens, rather than blue with glitter!Lol!! And no Santa flying across the sky, just 3 birds!!Lol!

I used 300gsm Watercolour paper but still used my Distress Inks. My Husband bought me some Watercolour paints for Christmas but I haven't used them yet. I will hopefully be painting my own sketched scenes, rather than using stamps. I just hope they will be good enough to post, as I haven't painted scenes for a loooooong time!
I made this card between taking my Christmas decs down and stripping the tree! My leg is not good at the moment, so I have to sit down quite a lot. A good excuse to sit at my desk.
My New Year resolution is that I am going to try to go to bed a bit earlier! It is 12.50am so I am going to fail tonight. Must try harder tomorrow!
Thank you for stopping by and please come back soon. I love your comments as they always make me smile.

Hugs,

Carol S.xx

Monday, 7 November 2011

A Little Bit Sketchy Christmas!

Hi everyone,

I think winter is finally here. It was rather chilly today and soooo dark all day. I don't mind the cold but the darkness makes it so depressing.

Still, a little ray of sunshine dropped onto my doormat on Friday. My three new stamp sets from Sheena Douglass's latest 'A Little Bit Sketchy' designs. This one is 'Lakeside Shore'.


This whole card was made using one Distress Ink pad, Chipped Sapphire for the background and stamping the main images. And a Versamark watermark ink pad for embossing with Disco black Embossing powder. How cheap is that!!
I blended the ink with a damp brush, to give a bit of shading around the grasses. I also did the same between the tree branches.
The 'trees' in the picture below is, I think, actually to be used as a tree branch in the foreground in the sky. It would look as if the picture has been taken under a big tree, with branches hanging down. However, I decided to use it standing up as small trees/shrubs. I created a little hill for it to stand on! I think it worked quite well.

This little Santa stamp I have had for years. It comes out every year and always gets used a lot!
I added a few more clouds to the sky and 'moon rays' down towards the earth. I did the rays with a scrap of paper and a make up sponge with distress ink on and applied along the edge of the paper.

The sentiment stamp was free on this months Craft Stamper Magazine. I thought it fitted quite well.

The snow is dries white glue, with Art Master ultra fine crystal glitter thrown on.

I hope you agree, that scenic stamps can also be used for Christmas. Just add snow!!Lol!

Thanks for stopping by and for your lovely comments. They are always read and treasured.
You are welcome to become a 'follower'. It's like having an extended family!

Luv,

Carol S.xx


Monday, 19 September 2011

A Heart Full Of Daisies

Hi Everyone,


I have now got my craft room pretty well organised. The trouble is, I now have more space to spread out even more things!Lol!! As I look over to my craft area from my computer area, I can see very little space without anything on!!

This is a little box that I had half made many months ago. It has been moved around my room so many times that all the pieces were not together. I managed to find them all and get them in one bag, when my room was being done. I then told myself I just had to do something with it, other than find a new home to store it!

The lid top and the base were all cut with the largest scalloped heart Nestie. The internal heart shapes were cut with the large plain heart. The sides were just long strips of card, scored 1cm from one edge, then folded on the score line. Triangle pieces were cut out of the 1cm section to the score line, every 1" to allow it to be bent around the curves.

As you can see I used the Fusion method of painting the Daisies on the top of the box. It was first painted with Ivory Emulsion paint and edged with Faded Jeans Distress Ink.

The Dragonfly is stamped and embossed with white onto Vellum. Oh! Of course a touch of Stickles on the flower centres.

It would make a nice little trinket or gift box.


Hope you like my box and thank you for stopping by. I love all you special comments and they are much appreciated.
Nighty night,

Hugs,

Carol S.xx

Tuesday, 13 September 2011

Butterflies Galore

Hi everyone,

I haven't posted for a bit, as my craft room has been undergoing a complete refurb. I emptied the room last Thursday, including my computer. I was shocked with the amount of stuff I have!Lol!! Well I pretended to be shocked!! I was able to stroke things I had forgotten I had.

The fitters started at 9am on Friday and they were finished by 2.30pm. The transformation is amazing. However, it took me 3 days to get everything back in the room. I labelled most things but still have a few boxes to do.

This mirror is for a neighbour. She saw my Fairy mirror and asked me to make a butterfly one, for her Grand-daughter's 5th birthday. She can never find anything with her name on, so wanted it on as well.


Her favourite colours are pink and purple. Do you think I filled my brief?!


I used a combination of different techniques. A crackle background with Acrylic paints, PVA and Emulsion Paint. Paint Fusion with the Ivy and the Lavender. Stamped Butterflies coloured with Distress Inks.


The flower is a Nestie paper circle, cut into a spiral, screwed up and rolled around on itself. I squashed it and glued it as I rolled my way to the end and stuck it to a piece of green florist wire.

The letters are chipboard ones from my stash and coloured with Copics. I then inked them with Versamark and embossed them with clear embossing powder. I did this twice to get a smooth finish.

The grasses at the bottom, I painted with Acrylic paint. I found some silk grasses when I cleared my room. I cut some into different lengths and stuck them over the painted ones. This gave a bit of depth to the background.
The Butterflies had a bit of Stickles on their wings and bodies.


Hopefully she will like it.
I must now make some more Christmas cards. I have so many different things to make, I get a bit distracted! Not hard really!!
Thanks for visiting and your lovely comments brighten my days. Always appreciated.
Luv
,

Carol S.xx

Tuesday, 6 September 2011

Miniature Fusion

Hi everyone,


Well boy did it rain today!! And as for the wind, I was a bit nervous looking at the big Oak tree at the bottom of my garden. It was and still is really swaying!! I did wonder how the Squirrels are, as we have two nests in the tree. Do they get sea sick I wonder!!Lol!

These are two items I have made for my stall on Friday. Anyone who has bought the Daisy Fusion stamps from Sheena Douglas, like me, did you wonder what to do with the small daisy stamps?!

Well this little round wooden box is only 3" across and 4" high. I painted the lid with Ivory coloured Emulsion paint. I then stamped around the edge of the lid, using the small Wreath stamp from Sheenas' Christmas stamps. I then over stamped with the small Daisy stamps. I used a small round headed brush to apply the paint to the flowers. I also used a wash of Burnt Umber Acrylic paint on the twigs of the wreath. For the leaves I used a very small flat brush.


For the sides of the base, I first painted a base coat of Gold Acrylic paint. I dried it with my heat gun for speed. I then applied a coat of PVA glue and before it dried, I painted it over with Ivory Emulsion. I used my heat gun to crackle the top coat.
The square box I did the same as the round box but also did the crackle paint effect on the lid. However, I did not use the Wreath stamp.

The little heart on the lid is also wood, which I painted with the gold Acrylic paint. I also used the same Gold paint on the inside of the box.
I hope it is not too windy on Friday, as I have to get all my craft goodies into the hall where the market is.
I am also supposed to be having worktops with shelves under, put in my craft room on Friday or Saturday. I can't wait, so I can finally get my room just as I really want it. Tidy!! Well tidyish! It is the Virgo in me!

Thanks for stopping by.

Luv,
Carol S. xx